Paléo 2008: jeudi 24.07
Reply

Suite du précédent billet.
Vers la soirée de jeudi.
Goals
Hardware
Disclaimer
As always if something goes wrong and you destroy your hardware or lose some data, I cannot be held responsible. This said it worked for me 😉
Prerequisite
Your NSLU2 is correctly configured for your network. That is in the Web Interface under Tab Administration, sub-tab LAN, the IP address, network mask, gateway and primary DNS server fields are set.
Step-by-step guide
Installing the modified firmware:
/usr/local/sbinifconfig to see which interface get the ip address from your DHCP server for example)sudo ./upslug2 --device en0
You should see your NSLU2 listed. (As mentionned in point 8 the --device is only needed to specify your network interface)
sudo ./upslug2 --device en0
--image="/<path_to_the_firmware>/Unslung-6.10-beta.bin
Installing the necessary packages on the NSLU2:
unsling disk2
and give a new password for the root account
ipkg update
ipkg install openssh
ipkg install svn
ipkg install nano
Configure SVN:
/svn/repositories directory with
mkdir /svn/diretories
svnadmin create /svn/repositories/<projet_name>
svnadmin dump <repos_path> > project.dump
(on the old svn instance). In the NSLU2 perform a
svnadmin load /svn/repositories/<project_name> < project.dump
You can now delete the project.dump file.
/svn/repositories/<project_name>/conf/svnserve.conf such that the following lines appears
anon-access = none    #no anonymous can login
auth-access = write   #authenticated user are allowed to write
password-db = passwd  #use the passwd file for authentication
/svn/repositories/<project_name>/conf/passwd file according to the example provided in the filesvnserve deamon. We will make a /etc/rc.d/rc.svn diversion’s script with the following content
#!/bin/sh

/opt/bin/svnserve -d

echo `date '+%Y/%m/%d %k:%m:%S'` " : svnserve start" >> /var/log/svnserve.log
chmod ugo+rx rc.svn
/bin/echo "Starting svn server:"; ( . /etc/rc.d/rc.svn )
to your rc.1 diversion’s script. You can put it almost anywhere in this diversion but I recommend put it near the end. In my case I have it after the start of the rc.bootdisk‘s diversion.
rc.svn is taken into accountsvn://<user_name_from_passwd>@<server_address>/svn\/repositories/<projet_name>Additional informations:
/share/flash/data/public and has a mount point in the unix hierarchy at /public. The same apply to the svn share.Ce jeudi le programme du paléo 08 est sorti. Comme l’année dernière, je serai présent en tant que bénévole durant les 6 jours du festival afin d’assurer la sécurité du camping. Voici mon choix de groupes pour le 22.07 (si j’ai le temps des les voir et même la motivation est une autre chose). Mon classement est simple: ++ à ne surtout pas louper, + essayer d’entendre deux ou trois titres, = si tu passes dans le coins tend l’oreille, pas mentionné pas intéressant.
Vers la soirée de mercerdi.
Moi c’est comme ça que j’imagine aller faire du sport ;-)[kml_flashembed movie=”http://www.youtube.com/v/MutvUfQcmMg” width=”425″ height=”350″ wmode=”transparent” /]
[kml_flashembed movie=”http://www.youtube.com/v/R1O1YaD-Gpw” width=”425″ height=”350″ wmode=”transparent” /]

Et après ça je me demandais pourquoi, quand je travaillais chez Manor, une fois quelqu’un était venu me demander si on avait un ordinateur Word.
[upd2 30.03.2008]
Thanks to Erik Winkler there exists a Mac version of RainbowCrack. Not only this version support more hash algorithms than the official one, it also doesn’t require that you install openssl, it’s universal and last but not least it performs better than the one that I hack (see rest of the post).
I definitely recommend you to use this version instead of mine.
RainbowCrack at macunix.net
[/upd2]
Unfortunately there is no RainbowCrack Mac build.
Here at your disposition a release 1.2 build for intel processor Mac . It needs OpenSSL 0.9.8.g installed in order to work (and of course OS X comes with an earlier version [0.9.7.l]).
How to build by yourself:
OpenSSL 0.9.8.g
RainboCrack 1.2
unsigned int GetAvailPhysMemorySize() looks like:
    int mib[2];
    int memSize;
    size_t len;
    mib[0] = CTL_HW;
    mib[1] = HW_PHYSMEM;
    len = sizeof(memSize);
    // This function is FreeBSD-specific
    sysctl(mib, 2, &memSize, &len, NULL, 0);
    return memSize;
-L "/usr/local/ssl/lib/libssl.dylib"
-L "/usr/local/ssl/lib/libcrypto.dylib"
If I have enought time and motivation I’ll try to compile OpenSSL and RainbowCrack with the intel compiler and all the optimisations for the Xeon platform. Unfortunately as my preliminary tests tend to prove it is not a straightforward task.
[upd 23.03.2008] The source code of my modified version is now available: rainbowcrack-12-src.zip .
[/upd]
Et oui ces derniers temps j’étais assez occupé par cela: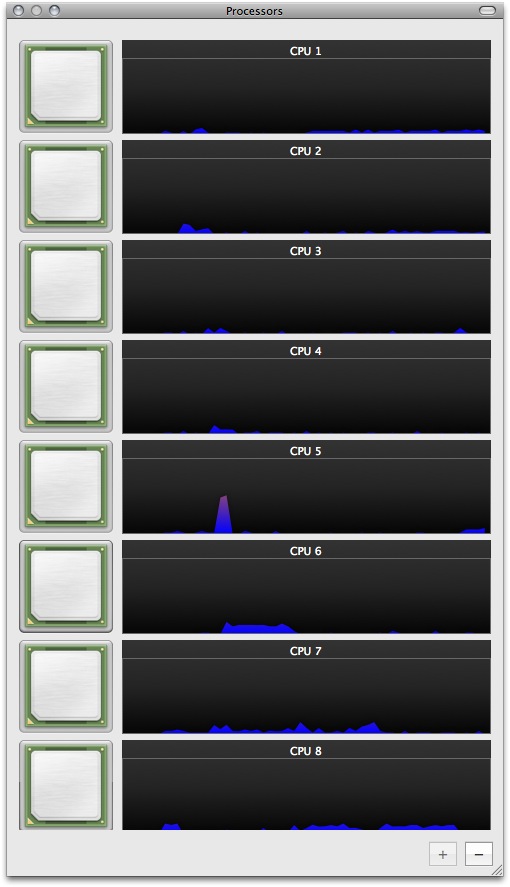
Pour ceux que cela intéresse voici les specs:


